Adding "extra" sky
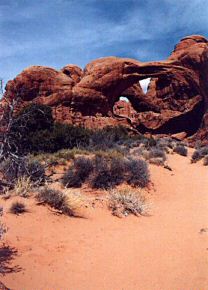 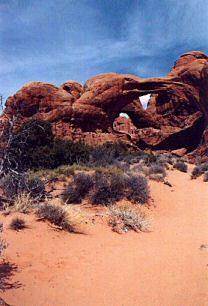 |
Got an image where you wish you had included just a bit more sky? As long as there is unobstructed sky along the top of the image, this is easy to fix in PSP.
|
 |
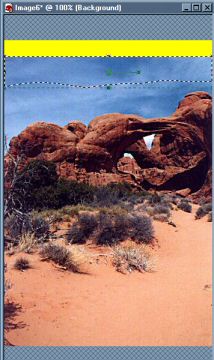
Make the needed selection
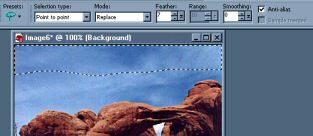
Use the Freehand Selection tool  , set Type to Point to Point, Mode to Replace, Feather to 7 and Anti-Alias checked. Make a selection of the top part of the sky. Keep the bottom part of this selection a bit random, the sides and top should run right up to the image borders. , set Type to Point to Point, Mode to Replace, Feather to 7 and Anti-Alias checked. Make a selection of the top part of the sky. Keep the bottom part of this selection a bit random, the sides and top should run right up to the image borders.
|
|
 |
Resize the canvas to allow for the new sky
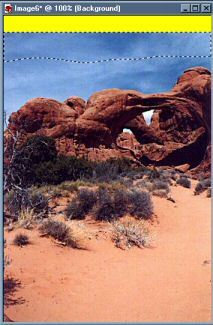
We now need room for the new sky. Image->Canvas Size. Make the Width the same as the original image. Make the Height however many more pixels that you want for the added sky. It's better to add too much, you can always crop it later. Uncheck the Lock Aspect Ratio box if it is checked. Click on the bottom center alignment button. Don't worry about the background color, it's going to get covered up. |
See a screen capture of this step. |
 |
Deform the sky
Grab the title bar of your image and drag it up so that you see some crosshatched background. This will make it easier to accomplish the deformation. Choose the Deform Tool  . Nodes will appear on each side of your selection. Grab the top node and drag it to the top of the image. Answer "OK" to the message box asking to promote to a layer. Click on any other tool to complete the deformation. . Nodes will appear on each side of your selection. Grab the top node and drag it to the top of the image. Answer "OK" to the message box asking to promote to a layer. Click on any other tool to complete the deformation.
|
|