|
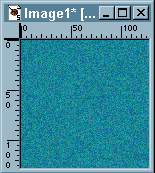
Image->Noise->Add, I used 30% uniform. The more noise you add the more variety of color you'll end up with. You can play with the settings, uniform noise gives a more subtle effect, random noise throws in a bunch of colors. You don't want to get too crazy with it or the final texture will be difficult to see. |
| Image->Blur->Soften More. | 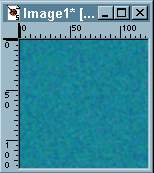 |
| Image->Plug-in Filters->DCspecial->Pattern Edit Undo. This filter flips around the edges of your image, what were the outside edges are now in the middle of the image, what was the middle of the image is now the outside edges. The image shown here is a zoom in to the center, although it's subtle in this case, you can still make out the seam. To get rid of it, we'll soften it again, Image->Blur->Soften More. Now, Image->Plug-in Filters->DCspecial->Pattern Edit Do, this puts the edges of the images back to the way they were originally, except now the tile should be seamless. Zoom in a couple of times on the center to make sure that you haven't created a new seam. If you still see one, use the Soften Brush or the Clone tool to take care of it, being careful not to get too close to the outside edges of the tile. |  |
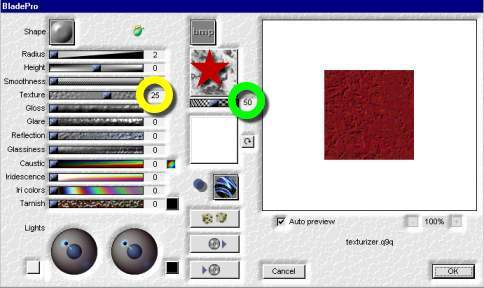 |
You can change the type of texture by using a different bitmap. Do this by clicking on the bitmap image (shown here with a red star over it), this will open your environments folder where you can choose a different bitmap. The slider underneath it (shown here circled in green) zooms in and out on the bitmap. A higher setting does not work well, I've found that the setting generally needs to be 50 or under. The texture slider (shown circled in yellow) defaults to 25, this slider changes the height of the "bumps" in the texture. Bitmaps with high contrast need a lower setting, play with it until you get an effect you like. Hit OK to apply the texture. |
| Here's the finished tile. You can double check the seamlessness by once again applying Pattern Edit Undo, zoom in to the center and check for a seam. If there's no seam, Edit->Undo and save the final image. If you've got a seam you can either try to fix it with the Clone tool or you can Undo twice and try BladePro again, this time moving the bitmap zoom slider to a lower value. | 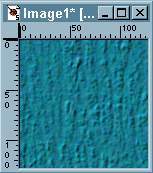 |