 |
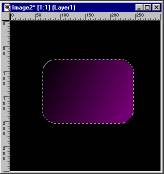
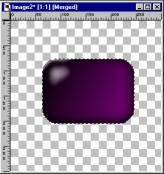
Start with a new image, 300 x 300 (The image needs to be two to three times larger than you
want the finished stone). Set the foreground color to black, the background color to a
bright shade of the color you want. Flood fill with black. For a rectangular stone with rounded edges
use the rectangular selection tool to make an initial selection, then Selections->Modify->Expand
by 40. For any other shaped stone, the expansion isn't necessary. Selections->Save to Alpha
Channel. Flood fill the selection with a linear gradient set to 120 degrees. |
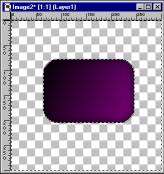 |
Selections->Select None. Image->Blur->Gaussian Blur, set it to 10. Selections->Load from Alpha
Channel. Selections->Invert and hit the delete key. |
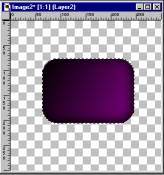 |
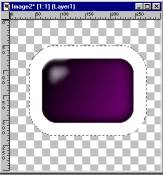
Selections->Invert. Right click on the Layers palette and add a new layer. Image->Effects->Cutout,
use Black, 50, 30, -6, -6. The effect is hard to see here because the demo images have been
reduced in size, you'll see it when you actually do it. |
 |
Layers->Merge->Visible. Set the foreground color to white. Use the spray can with texture set
to lava, size=13, opacity=100, hardness=100, density=64, step=12. Spray a highlight onto the
stone in the darker area. Use the retouch tool set to Soften (make sure you change the texture
back to none, size=19, opacity=100, hardness=100, density=100, step=12. Rub the highlight until
it's really not white anymore, you want a soft glowing effect. |
 |
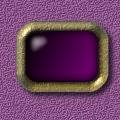
The actual stone is done, you can resize it down and use it now. We'll continue with a
"setting" for the stone, this part of the tutorial will require
BladePro. If the selection isn't still loaded, load it again. Selections->
Modify->Expand by 25. Selections->Save to Alpha Channel. Right click on the layers palette
and add a new layer, drag this layer to the bottom. Flood fill the selection with white. |
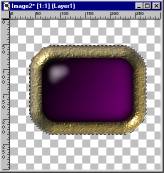 |
Image->Plug-in Filters->Flaming Pear->BladePro, pick a metallic preset. You'll need to play
around with the settings, the radius needs to be 25, I personally prefer a soft bevel. |
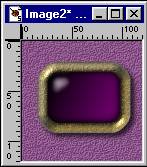 |
Image->Resize. Use the percentage boxes and enter a number between 30 and 50. Selections->
Load from Alpha Channel, load the larger selection. Image->Effects->Drop Shadow. I used
Black, 80, 7, 4, 4. Right click on the layers palette and add a new layer, drag it to the
bottom and flood fill with your background color/texture. |