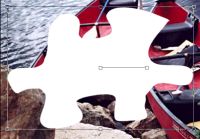
Open the image that you wish to use. Right click on the layer palette and choose New Vector Layer. Set your background swatch to a color that contrasts with the image, set your foreground color to null. Click on the Preset Shapes tool
Hide the vector layer by clicking on the Layer Visibility Toggle
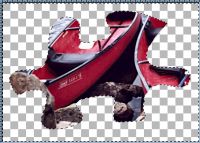
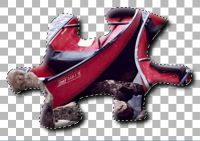
Click on the Background layer, right click to promote this to a layer. Selections->Invert. Hit the Delete key once.
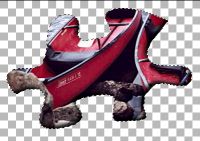
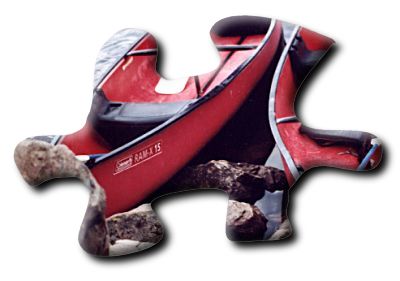
Selections->Invert. Right click on the bottom layer and choose New Raster Layer. Effects->3D Effects->Cutout. For this image, I used offsets of 5 pixels, you may need to use more or less depending upon the size of the image. In this case, for the first cutout the settings were -5 for both offsets, 100% Opacity, and 12 for Blur. Set the color to black. Right click on this layer and again choose New Raster Layer. Effects->3D Effects->Cutout. Change the Offsets to 5 and the color to white. Adjust the Opacity on these two layers by using the sliders on the layer palette. The amount of opacity needed is going to depend entirely upon how dark or light your overall image is.
Click on the bottom layer. Effects->3D Effects->Drop Shadow. Set the shadow color to black. For this image, I used offsets of 6, Opacity of 100% and a blur of 11.

Selections->Select None. Add another raster layer and drag it to the bottom. Flood fill this layer with whatever color or pattern that you wish. File->Export->JPG Optimizer to output for use on the web.